

My mom gave me 1/4 yard of this awesome camera-printed fabric awhile back, and I never knew what to do with it. Well, that's not true. I had a million ideas, but I never wanted to get it dirty! Yesterday, I finally decided that was silly and my mom obviously bought it for me so I could use it, so I made a pillowcase. This pillowcase doesn't need a zipper or anything like that because it's envelope style and it has a fold in the back. Here's how to make it:
You'll need:
1/4 yard of printed fabric
1/4 yard of plain fabric (or same as printed fabric)
Scissors
Sewing machine
Matching thread
Optional:
Rotary cutter
Pinking shears
Measure your square pillow and add one inch for seam allowance all the way around. In my case, I cut out a 18" by 18" square out of my printed fabric. Of course, your pillow might be smaller or bigger than this, so adjust your measurements accordingly. Whenever making the back for a square pillowcase, measure the distance from one side to the other (in this case, mine was 18"), divide by two (9"), then add 3" (12"). Cut two of these rectangles. So in my case, I cut out two 18" by 12" rectangles from my plain white fabric.

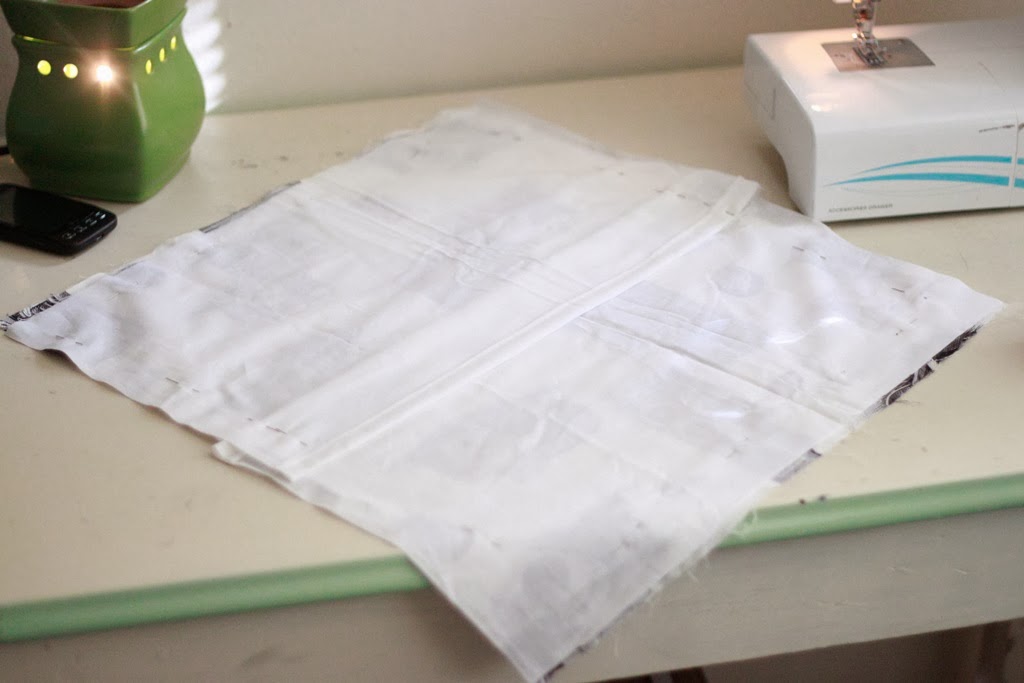
Next you'll need to hem one 18" side of both white pieces. Now place the pieces on top of each other, right sides together. I tried to make an infographic, but I pretty much failed. So the top of the square down to the gray dotted line is one 18" by 12" piece and the black line to the bottom of the square is another 18" by 12" piece. The small thin lines are supposed to emulate the hems of each piece.

Hopefully this picture will make it make more sense. As long as the right sides are facing together and the wrong side of the hem is facing outward, you should be okay. Pin and sew along the edges, leaving a 1" seam allowance.
This step is optional, but I like to cut around the edges with pinking shears. This will help the threads from unraveling along the edges.

This is what it should look like while still turned inside out. You can see that I also clipped the corners.

Now turn it right side out and put a pillow in it!

I love this fabric and I think it goes well with our couch. I'm going to make another so we can have a matching set.
Have a great weekend!
Liz
I love this tutorial! I hate that there are limited options for pillow cases so I've always considered making my own. Thanks for this!
ReplyDeletexx Francesca of www.primpandpaper.com
Thank you so much Francesca! Definitely let me know how your pillows turn out if you happen to make some. :)
DeleteLiz
This is just too cute, Liz! I love the vintage camera print, and I think the idea of pillow covers would be a great gift or just a nice decoration to add to any bed :)
ReplyDeleteEmily
ahemitsemme.blogspot.com
Thanks Emily! I definitely love the fabric too. My mom buys me fabric whenever she sees a print she think I would like. I have the best mom! :)
DeleteLiz
this fabric is awesome!
ReplyDeleteThanks so much!
ReplyDeleteLiz
That is so stinkin' cute! Definitely good use of the fabric!
ReplyDeletexoxo,
Laura
http://lauraisthriftingthroughlife.blogspot.com/
Thanks Laura! :)
DeleteLiz