

This weekend I went to visit my mom. We had gone to the mall a couple of weekends before and we saw a really cool obi wrap belt at The Limited. Now I'm frugal. I'm practical. Never in my life will I spend $30 on a belt. My mom and I knew I could make something similar and the wheels in our brains started turning...
You'll need black fabric and a printed fabric. Of course, you can use all black fabric if you wanted, but I wanted a fun print for the lining.
First, cut out three pieces of your black fabric, a middle piece and two outside pieces. The outside pieces will measure 3 1/2" x 50" and the middle piece will measure 4 1/2" x 17".

Taper the pieces. Make sure the outside pieces are equal.

Do the same for the lining.

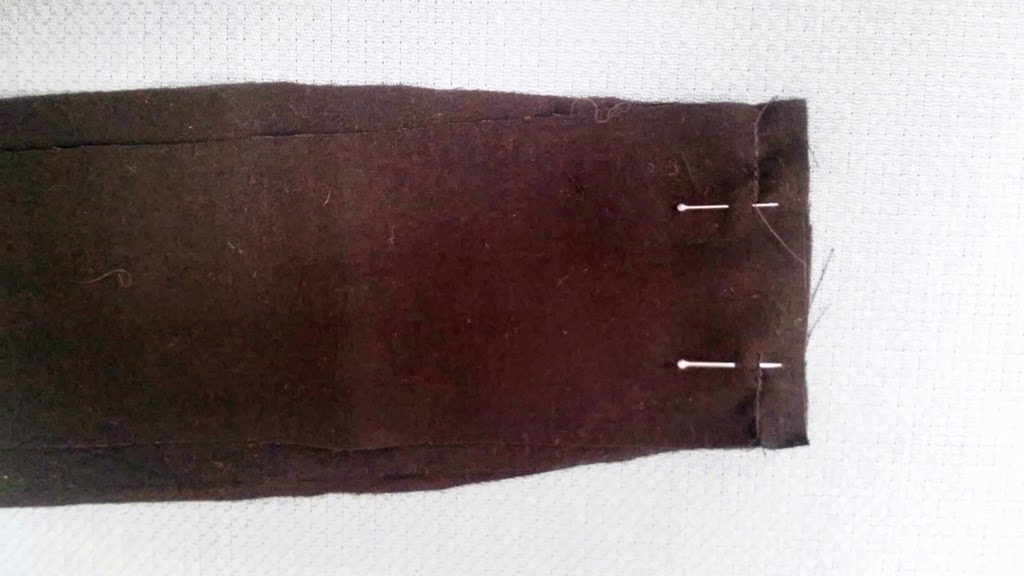
Place a side piece to the middle piece right side together, pin and sew. Pin the other side to the middle as well but don't sew yet.

This side will have a 1 1/2" gap, so sew for a little bit, skip 1 1/2" and then sew the rest.
Do the same exact process with the lining pieces and then place the lining and the outside pieces right sides together. Sew all the way around, except for a gap on the top.

The gap is so you can turn your work inside out.

After your belt is all turned inside out, top stitch around all the edges.

Remember that gap that you left between the seams of the belt? Top stitch over the two sides.

Your belt's side should look like this when it's on so you can slip the strap through the gap.

Now tie it in a knot...

...and make a pretty bow!

Pretty cool, right? I love how it turned out!
Have a great week everybody.
Love, Liz
Have a great week everybody.
Love, Liz
this is so cute, i love it!
ReplyDeleteThanks!
DeleteLiz
Hi,nice post.I share it in future.wrap belt
ReplyDelete